diy cloth mask: step by step tutorial
March 21, 2020
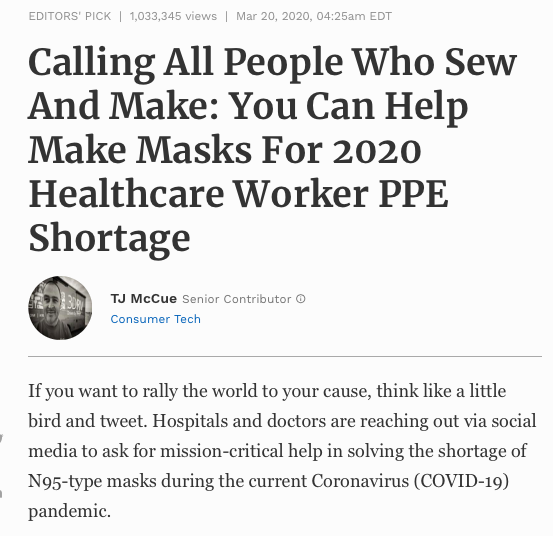
Make them for yourself, family and friends. Ultimately- make some for the medical staff that is in need of them and treating COVID-19 patients. When Forbes Magazine posted this article (below) March 20, 2020- I knew I had to do something to be a part of the solution. You can contact local hospitals and clinics and drop them off or mail them.
Make them for yourself, family and friends. Ultimately- make some for the medical staff that is in need of them and treating COVID-19 patients. When Forbes Magazine posted this article (below) March 20, 2020- I knew I had to do something to be a part of the solution. You can contact local hospitals and clinics and drop them off or mail them.
BUT ARE HOMEMADE MASKS EFFECTIVE??
Lots of questions and concerns wondering if cloth masks are effective- and the medical community is saying YES- they are better than nothing.
HAVE SEWING MACHINE- WILL TRY?
So let's get to work.... It' very simple. There are so many ways to make masks- just do a search online and you will find a multitude of ideas.
WHAT YOU NEED:
SEWING MACHINE:
If you are a seasoned sewer, cool. You know what to do. But if you have a sewing machine and have never touched it- you can easily figure out how to sew by watching a few youtube videos. (Did you know that although I studied Fashion Marketing- I initially taught myself how to sew and I have since then taken additional classes to perfect my craft ;)
PATTERN:
Here is the link to the site I used to make the one below.
https://www.instructables.com/id/DIY-Cloth-Face-Mask/
FABRIC:
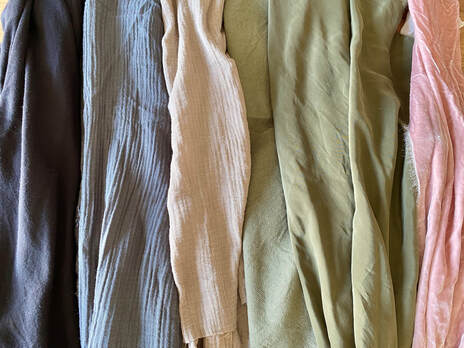
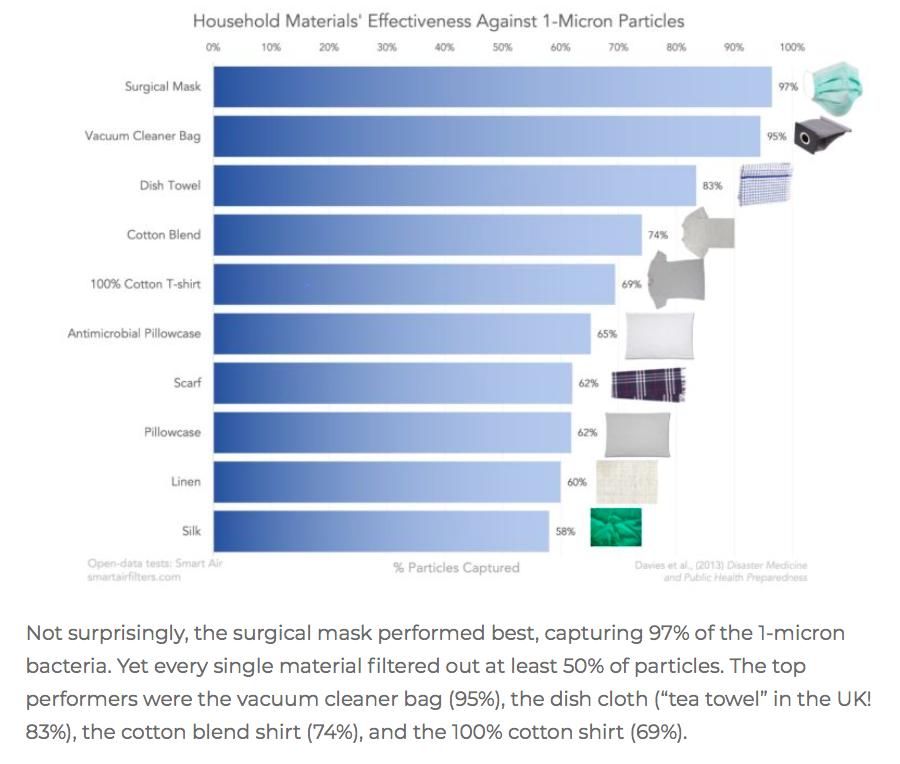
If you do not have access to new untouched fabric (like most designers or brands have) then you can use household materials as well. Below is a chart showing you what can find around your house and use effectively. Wash and dry the fabric and prep (iron or steam).
Source: SmartAirFilters.com
Materials:
- Scissors (for fabric)
-Ribbons/ Elastic: anything you can use to fasten the mask to your face
-Pins
-Paper
-Pencil/Pen
-Chalk (or you can use a pencil)
- Scissors (for fabric)
-Ribbons/ Elastic: anything you can use to fasten the mask to your face
-Pins
-Paper
-Pencil/Pen
-Chalk (or you can use a pencil)
STEP 1:
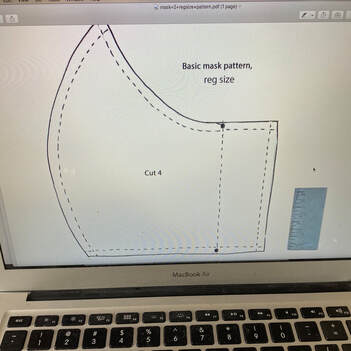
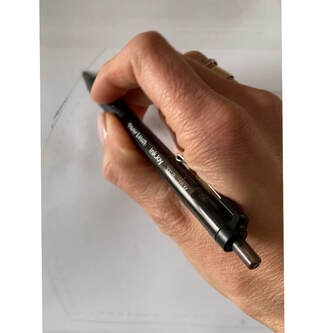
Find Pattern. Either print it out- or- if you were like me and your printer isn't working-you can trace the image of the pattern with a paper against your laptop. Rookie move, but it worked.
Find Pattern. Either print it out- or- if you were like me and your printer isn't working-you can trace the image of the pattern with a paper against your laptop. Rookie move, but it worked.
STEP 2:
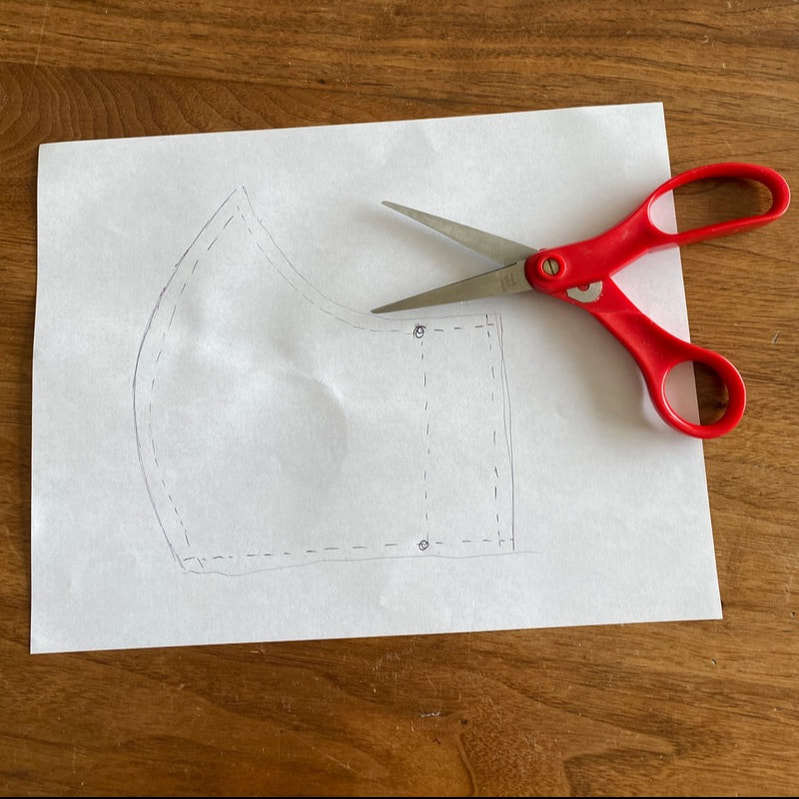
Cut the pattern out once you have drawn on the paper. Use paper scissors and not fabric scissors if possible.
Cut the pattern out once you have drawn on the paper. Use paper scissors and not fabric scissors if possible.
STEP 3:
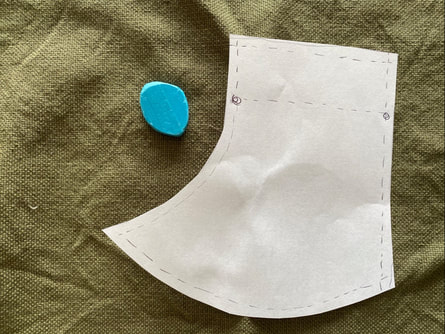
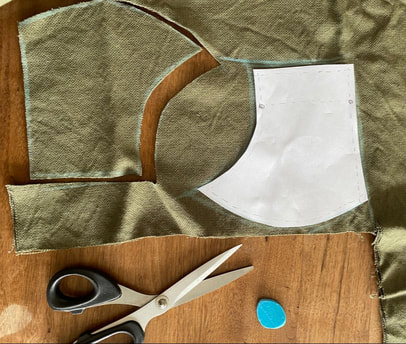
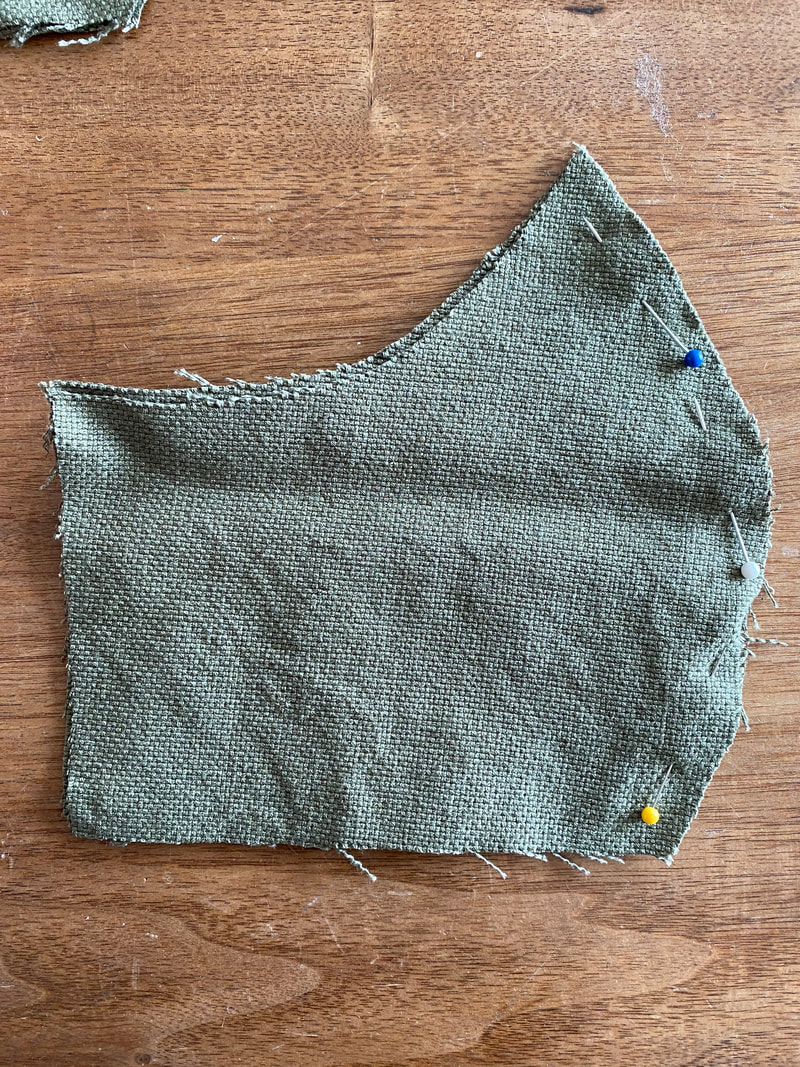
Place the pattern on your fabric. Fold the fabric in half so that you are cutting out two identical pieces of the pattern shape. Pin the fabric in place (I didn't pin mine) and then trace the circumference of the pattern with chalk or a pencil crayon that will show up against the fabric. Be mindful in how you place your pattern so that you can use the fabric for another pattern. Fit it like a puzzle.
Place the pattern on your fabric. Fold the fabric in half so that you are cutting out two identical pieces of the pattern shape. Pin the fabric in place (I didn't pin mine) and then trace the circumference of the pattern with chalk or a pencil crayon that will show up against the fabric. Be mindful in how you place your pattern so that you can use the fabric for another pattern. Fit it like a puzzle.
STEP 4:
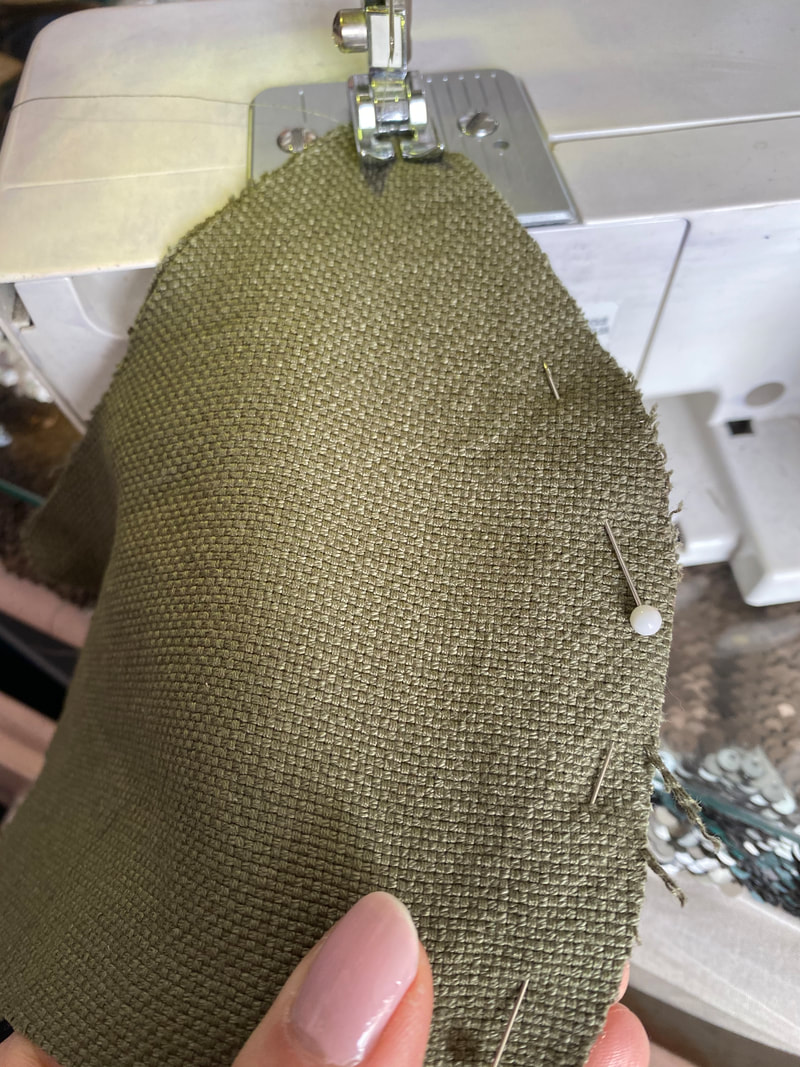
Lay out the fabric pieces, one on top of each other, as they were cut. Then, pin the curved parts of the two pieces together. You sew these parts first.
Lay out the fabric pieces, one on top of each other, as they were cut. Then, pin the curved parts of the two pieces together. You sew these parts first.
STEP 5:
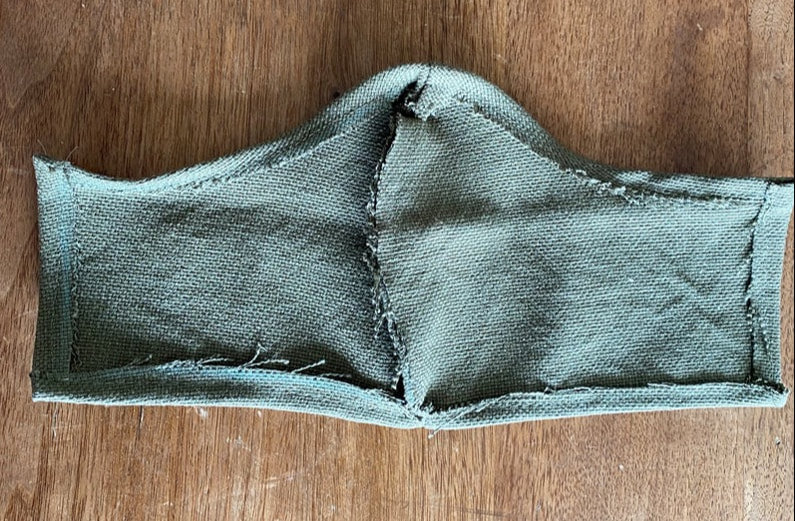
Sew the circumference of the fabric in by 1/2 inch or less- to create a neat seam along the edges.
Sew the circumference of the fabric in by 1/2 inch or less- to create a neat seam along the edges.
STEP 6:
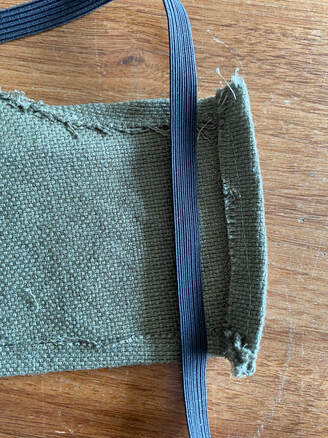
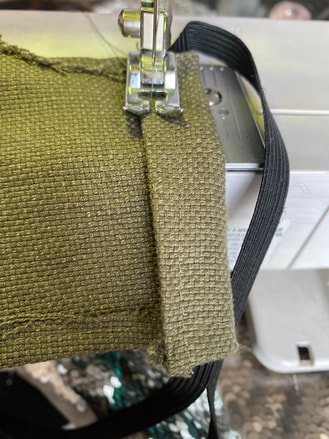
Cut enough of the material you will use for securing the mask to your face so that it creates a double strap in the back. Fold the edges over 1/2 inch and place your elastic/string/ribbon. You can pin it over the elastic when you fold it down- just make sure you don't sew into the elastic- but on the side of it.
Cut enough of the material you will use for securing the mask to your face so that it creates a double strap in the back. Fold the edges over 1/2 inch and place your elastic/string/ribbon. You can pin it over the elastic when you fold it down- just make sure you don't sew into the elastic- but on the side of it.
STEP 7:
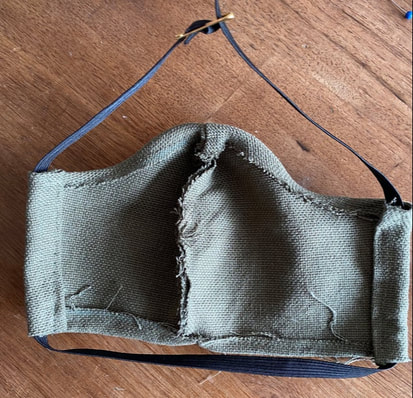
Loop in both sides so that they have enough room to slide through when sewn. If it's for you- you can try the mask on and then pin the part where you will fit the mask behind your head. If it is for someone else, make sure to leave enough room so they can tie or hand stitch it to fit their face.
Loop in both sides so that they have enough room to slide through when sewn. If it's for you- you can try the mask on and then pin the part where you will fit the mask behind your head. If it is for someone else, make sure to leave enough room so they can tie or hand stitch it to fit their face.
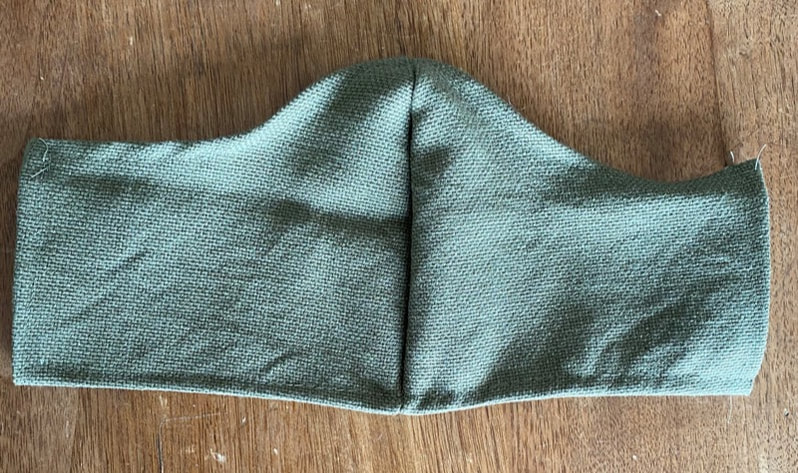
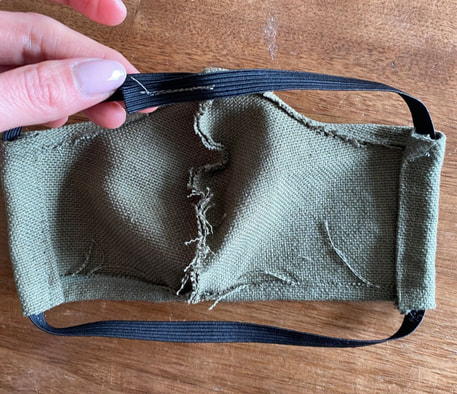
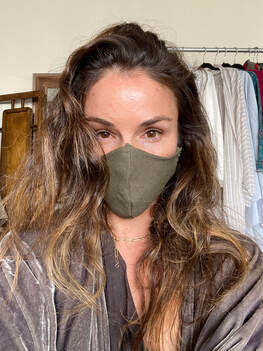
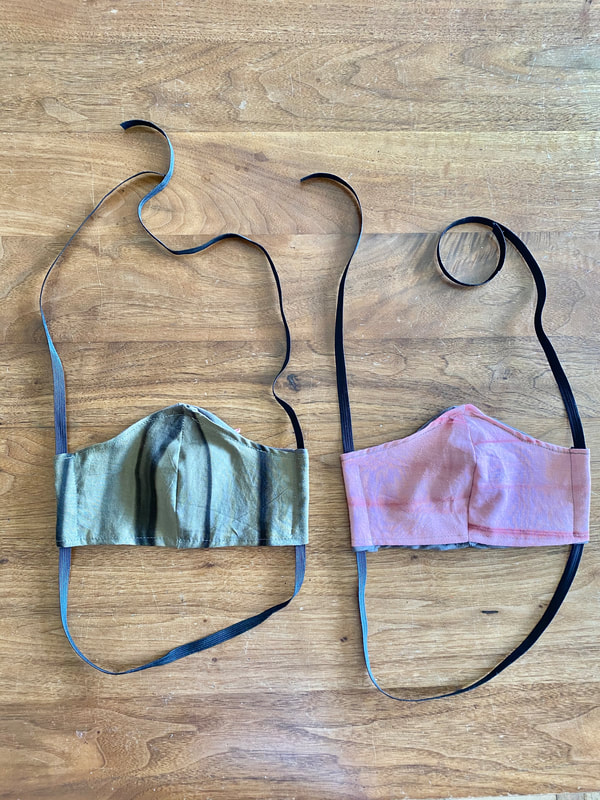
And voila! There is your mask! This is the very first mask I made. What I will be doing is adding a second layer of fabric as a lining- so that you can put a filter in it- anything will do- from a paper vacuum bags to paper towels, and filters, if you have them.
*HOW TO KEEP YOUR MASK CLEAN:
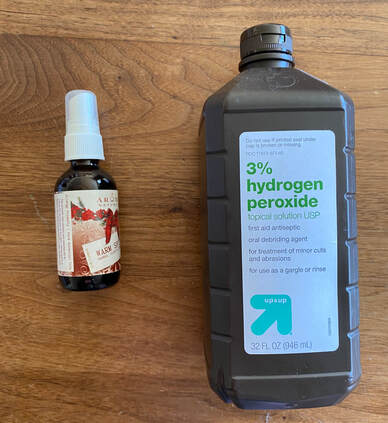
There are many ideas online on how to sanitize your mask. I think washing it soap and water is the best- but you can also - and should also spray it with rubbing alcohol or hydrogen peroxide before and after every use. I emptied out (and cleaned with hot water and soap!) a small bottle with a spray attachment and poured hydrogen peroxide into it for easy use.
There are many ideas online on how to sanitize your mask. I think washing it soap and water is the best- but you can also - and should also spray it with rubbing alcohol or hydrogen peroxide before and after every use. I emptied out (and cleaned with hot water and soap!) a small bottle with a spray attachment and poured hydrogen peroxide into it for easy use.
MASK EVOLUTION 2.0
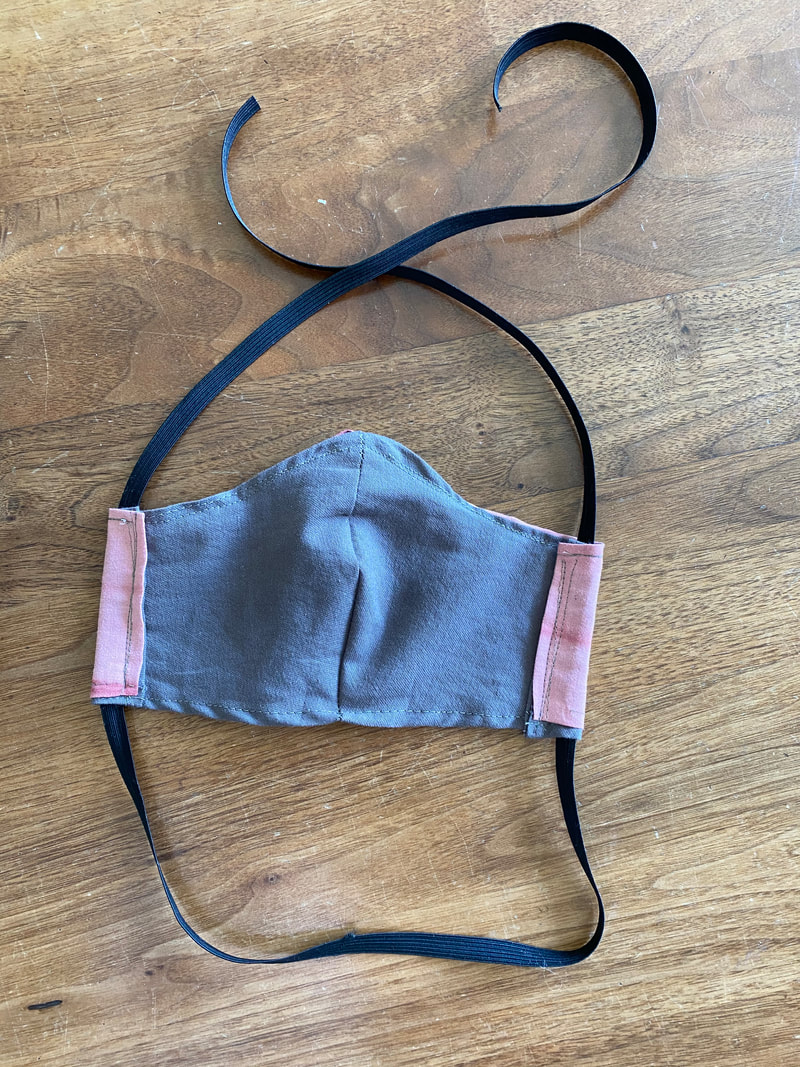
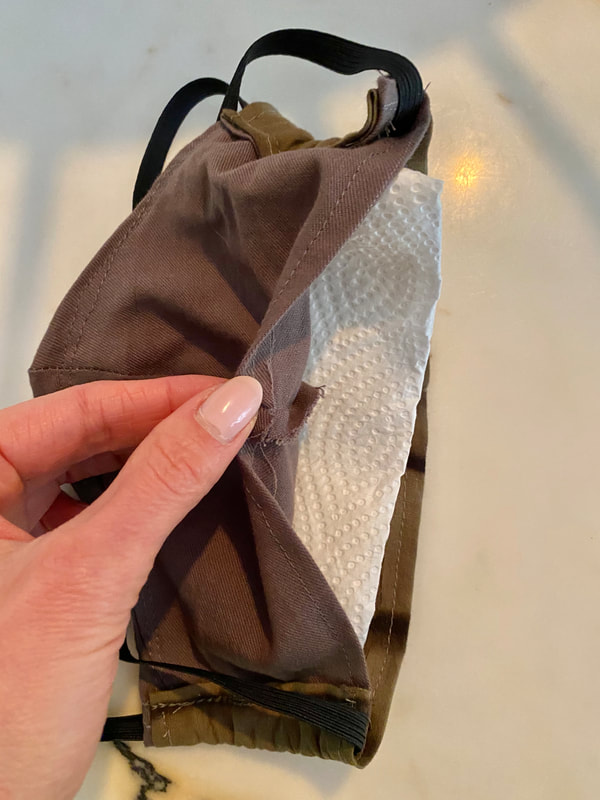
Made some masks in this format today. I lined them and left a slit on the bottom open so you can tuck a filter between the layers of fabric. You can even use paper towels if you don't have proper filter- or even vacuum cleaner bags work. Having them reversible so you can also wear it it out a few times without washing.
Made some masks in this format today. I lined them and left a slit on the bottom open so you can tuck a filter between the layers of fabric. You can even use paper towels if you don't have proper filter- or even vacuum cleaner bags work. Having them reversible so you can also wear it it out a few times without washing.


